Summer Ombré Nails 26 Ideas: Hot Designs to Elevate Your Style
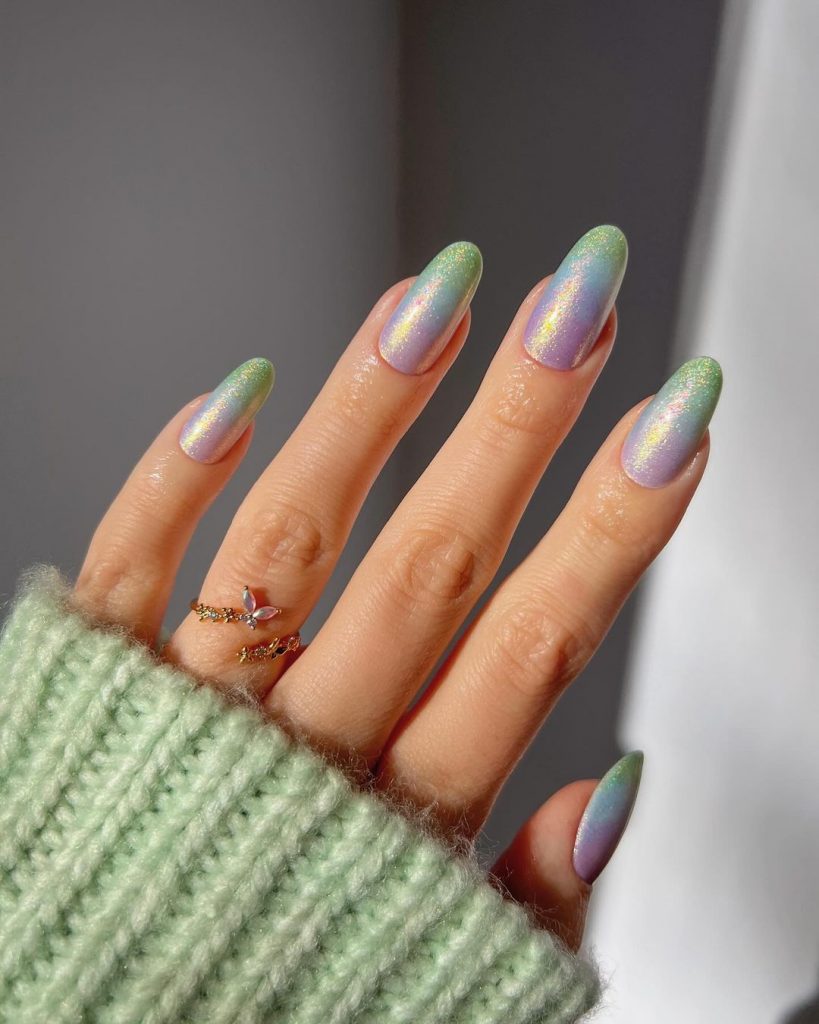
Holographic green spring fantasy
Is where dreams of spring come within reach. This holographic green fades into pastel lilac, capturing the fresh essence of new beginnings. The fine glitter creates a magical sparkle, perfect for those who want to carry a bit of spring with them.
Essential ingredients
- Base layer: “Shield Protector” from Butter London
- Holographic green polish: “Emerald City” from Color Club
- Lilac polish: “Lavender Whisper” by Sally Hansen
- Holographic topcoat: “Disco Ball” by Essie
My take: The holographic elements make this a work of art in motion, shimmering with every hand movement.
DIY nail art at home
With a base coat down, apply the holographic green starting at the cuticle, then sponge the lilac towards the ends so the colors blend together. The holographic topcoat is essential for that otherworldly sparkle.
Sparkle French Tips Pink
Nothing says sparkly French tips quite like these playfully vibrant nails. The pink shade is both flirty and fun, making it a favorite for summer escapades. The glittering points catch the sunlight beautifully and add an element of depth to the overall design.
- Products you need:
- Bubblegum pink nail polish
- Silver glitter polish
- Protective top layer
Bubblegum pink is a summer staple and brands like China Glaze offer the perfect shade. Combine it with a silver glitter polish for that sun-catching effect.
After your base coat, apply two coats of bubblegum pink. Once dry, apply the glitter polish to the ends, turning them pink. Seal it with a protective top coat for a long lasting finish.
Almond shaped blue Ombre
The almond-shaped nails, dipped in shades of blue, reflect the serenity of a summer sky. This particular design goes from a soft pastel color at the base to a deep cerulean at the ends, capturing the essence of an oceanic getaway.

- Nail supplies:
- Pastel blue base coat
- Deep blue polish for the ombre effect
- Sponge tool for the gradient
- Glossy top coat to seal the design
I recommend a sponge technique with CND polishes because of their seamless blendability.
Start with the pastel base and, while it is slightly wet, dab the dark shade with a sponge from the tip downwards. It’s a simple yet impressive look that you can easily master at home with a little practice.
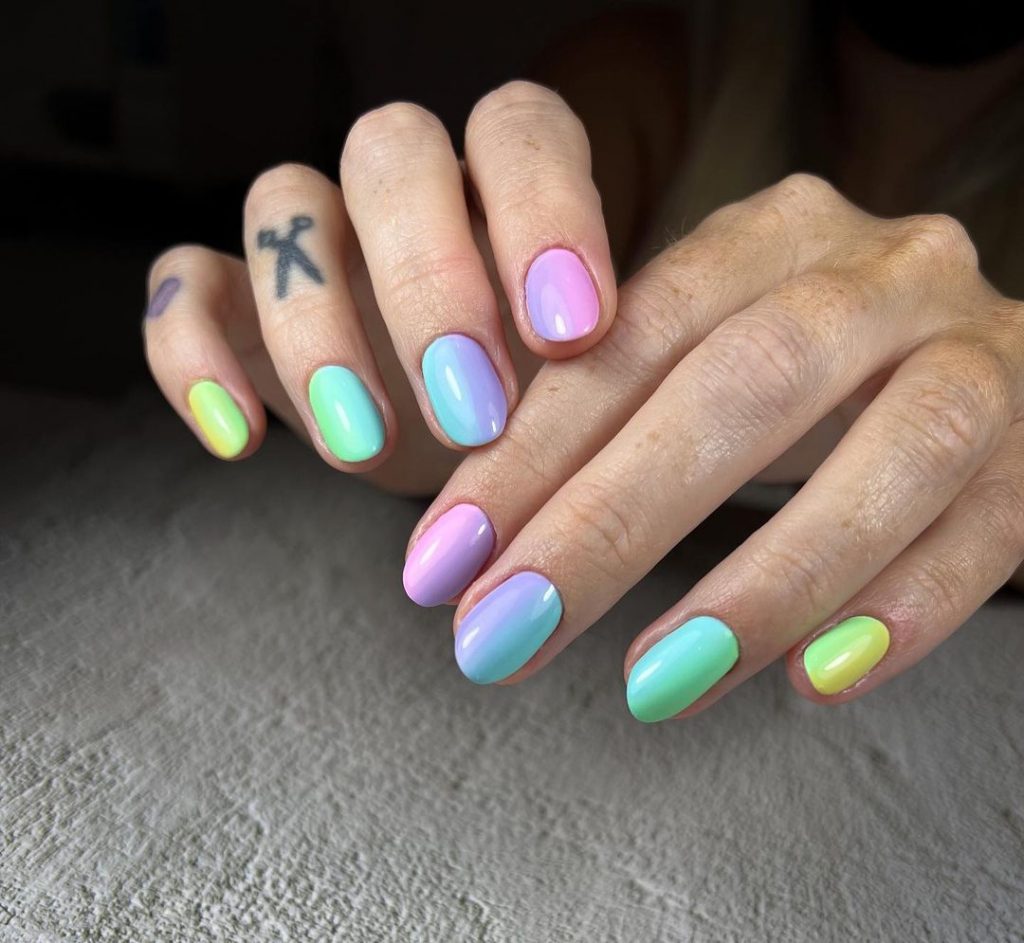
Pastel Rainbow Ombré
The pastel rainbow ombré nails are like a summer festival within reach. Each nail tells a story with a different pastel shade, creating a symphony of colors that is playful and striking.
- Tools and polishes:
- A range of pastel polishes (lavender, mint, peach, sky blue)
- Thin brushes for precise application
- A high-quality base and top coat
Essie and OPI have an excellent range of pastel colors that match this look perfectly.
Apply a white base coat to make the colors pop. Then paint each nail with a different pastel shade and blend them out halfway down the nail for that ombre effect. Seal with a glossy top layer for durability.
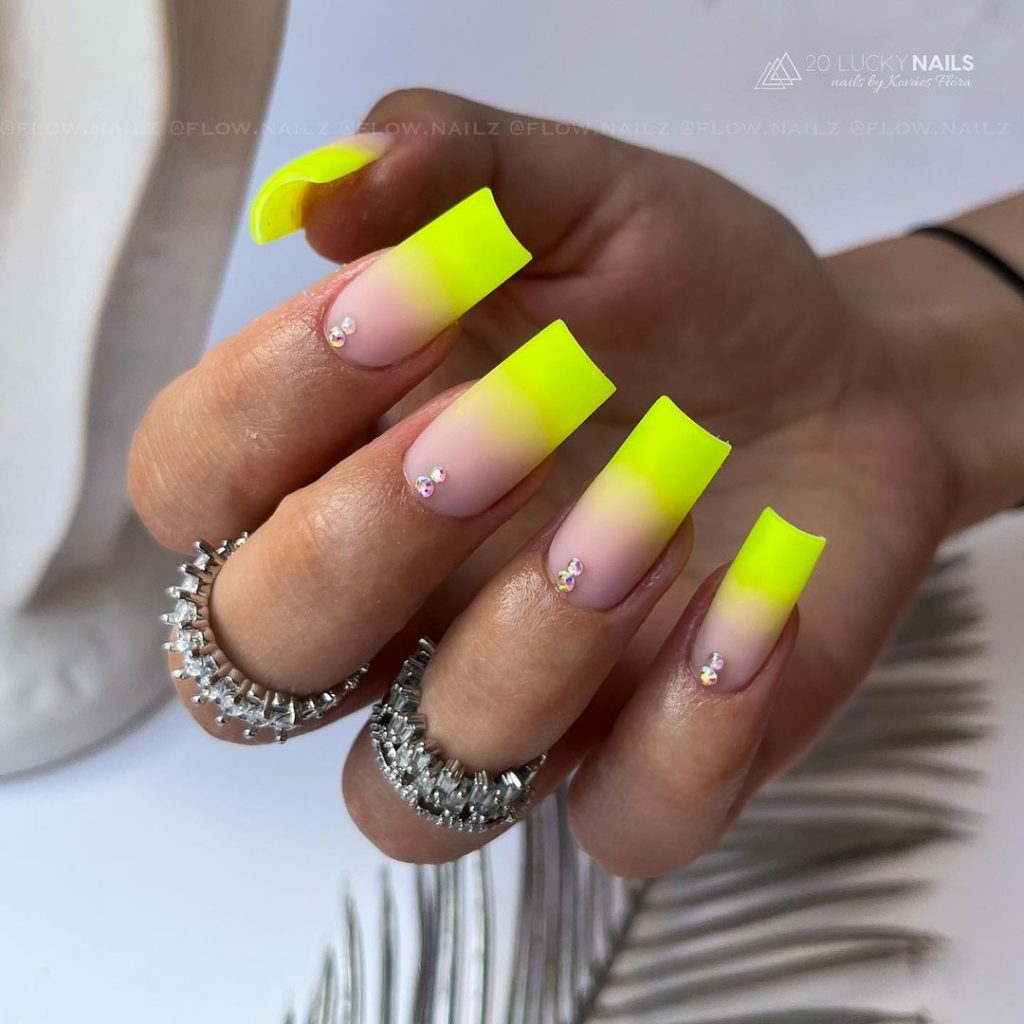
Yellow Ombre
Sunshine in the form of nails – that’s the yellow ombré design. Starting with a pale lemon and progressing to a vibrant sunflower tip, these nails truly embody the vibrant energy of summer.

- Your Sunshine kit:
- Light yellow paint
- Bright yellow for the tip
- Sponge tool for the gradient
- Long-lasting top coat for a glossy finish
For the gradient, a makeup sponge works wonders in achieving that smooth transition. OPI’s yellows have the pigmentation and staying power needed for this sunny design.
Paint your nails with light yellow as a base. Use the sponge to apply the brighter yellow to the ends and press down lightly to blend it. Finish with a top coat to enhance the shine and preserve your art.
Neon sunset French
Neon Sunset French nails are a bold take on the classic French tip. The vibrant neon hues mimic a sunset, while the traditional pink base keeps it rooted in the familiar.
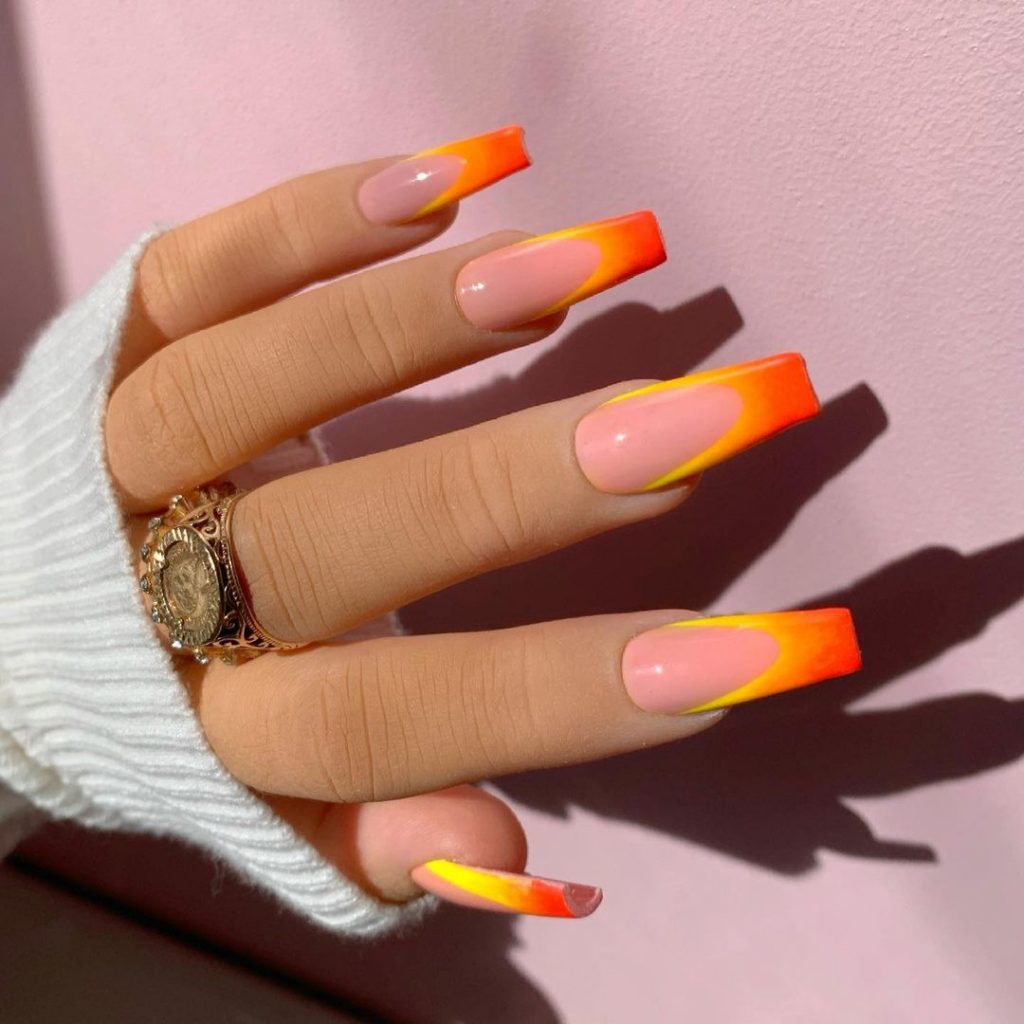
- Equipment required:
- Neon orange and yellow paint
- Translucent pink for the base
- Tip guides or tape for precision
- Quick-drying glossy top coat
A sheer pink like DND’s Pink Ballet with neon tips from the Orly Neon collection provides a stunning contrast.
First apply the transparent pink base. Place tip guides on your nails and paint the tips alternately with neon orange and yellow. Remove the guides while the paint is still wet and then apply a glossy top coat.
Citrus Blast Ombré
Feast your eyes on the Citrus Blast Ombré, a delicious range of lemon, lime and mandarin shades that bring a touch of summer within reach. Each nail transitions smoothly from soft yellow to zesty orange, resembling the refreshing citrus slices in a cool summer drink.
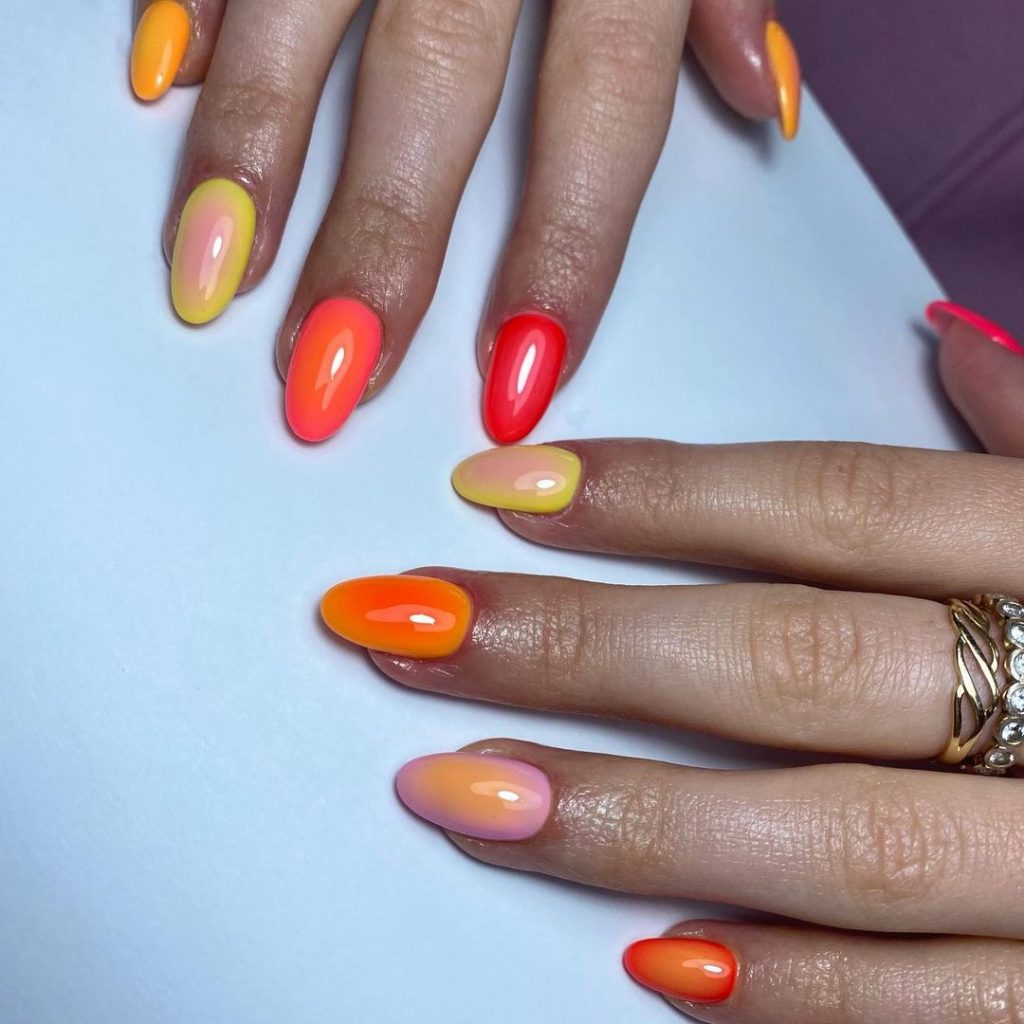
- Consumables for Citrus Bliss:
- Lemon yellow gel polish
- Mandarin orange gel polish
- Soft white for the base
- Ombré brush or sponge
- Shiny top layer for a juicy aftertaste
I highly recommend using Gelish colors for their vibrancy and longevity.
Start with a white base to make the colors pop. Mix the yellow and orange with an ombré brush for a smooth transition. Finish with a glossy top coat to ensure your nails look freshly pressed!
Pink neon french blur
The Pink Neon French Fade reinterprets the classic French tip with a bold and bright pink glow that transitions into a translucent pink base. It’s the perfect mix of sophisticated and sassy, sure to turn heads at any summer party.
- Pink neon essentials:
- Neon pink gel polish
- Clear pink building gel
- Precision brush for sharp points
- UV or LED lamp
- High gloss top coat
Brands like Vetro offer fantastic neon gels that are perfect for this technique.
Apply the builder gel to shape the nail and create a smooth surface. Use the precision brush to apply the neon pink to the ends, blending downwards for a faded effect. Cure under a lamp and finish with a glossy top coat.
Electric Lime French
Dare to dazzle with Electric Lime French tips, where electric lime green contrasts beautifully with a soft pink base, accented by delicate rhinestones for an extra sparkle. It is a modern take on the French manicure and pushes the boundaries of traditional summer nail art.
- Lime Green Manicure Set:
- Electric lime green paint
- Light pink base coat
- Small stones
- Nail glue
- High gloss top coat
Orly Electric Lime is my top choice because of its true neon intensity.
Coat the nail with the light pink base. Paint the ends with a bold lime green and add small rhinestones at the base for that extra shine. A top coat ensures that your tips remain clear and the stones stay in place.
Coral Ombré Bliss
Embrace the warmth of the season with Coral Ombré Bliss. This design softly combines milky white with a tropical coral hue, reminiscent of a serene sunset on the beach.
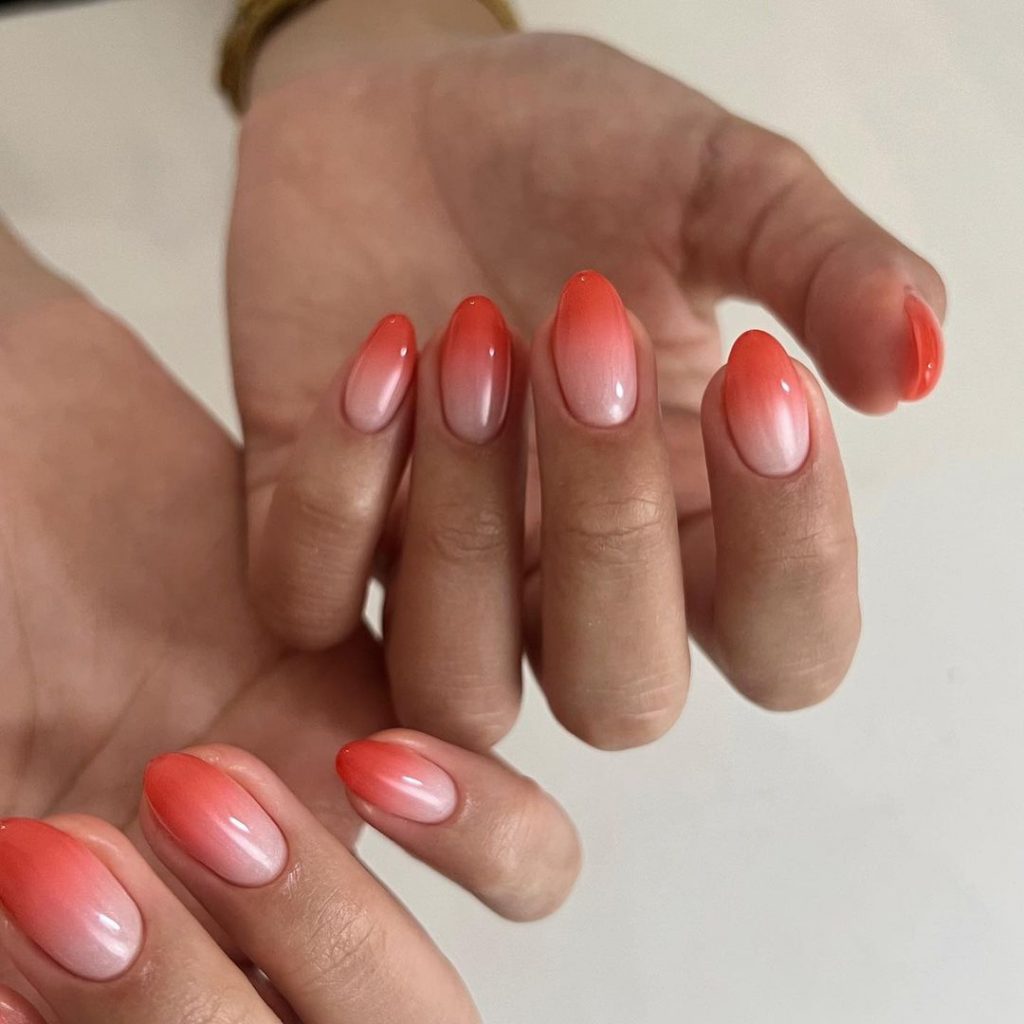
- Sunkissed Ombré Selection:
- Milky white paint
- Coral polish
- Mixing sponge
- Shiny top coat that won’t wipe off
For a flawless blend, OPI’s coral shades are second to none.
Apply the milky white polish as a base. Gently dab on the coral polish with a sponge, starting at the tip and working your way down for that perfect ombré. A non-wipe top coat adds shine and durability to this beach look.
The Citrus Splash Ombre
As a manicurist I always say that your hands are your personal canvas. The ‘Citrus Splash Ombre’ look captures the heart of summer with its bright, sunny ombre transition from zesty yellow to juicy orange. It’s simple, yet it makes a statement. The high-gloss finish adds a touch of class, making it a perfect addition to both a summer dress and a stylish evening dress.

Consumables for making these nails:
- Base Coat: OPI natural nail base coat
- Yellow polish: Sally Hansen Insta-Dri in “Lightning”
- Orange polish: Essie Gel Couture in “On the List”
- Top coat: Seche Vite Dry Fast Topcoat
- Cosmetic sponge for ombre effect
My pro tip: apply the nail polish to the sponge and gently dab onto the nail to create that perfect gradient. Don’t forget to apply a top coat for a lasting shine.
DIY instructions: To recreate this sunny gradient at home, start with a good base coat. Apply your lighter color first, in this case bright yellow. Once dry, use a sponge to apply your second color, an inviting orange, and pat lightly to blend the shades. Seal your art with a glossy top coat to make the colors pop and hold up through all your summer adventures!
Serene blue waves
The ‘Serene Blue Waves’ design is reminiscent of the clear summer sky and the tranquility of ocean waves. This nail type embraces a smooth transition of blue tones and creates a cool, soothing effect. It is an embodiment of summer tranquility, perfect for those looking for a simple yet profound statement.
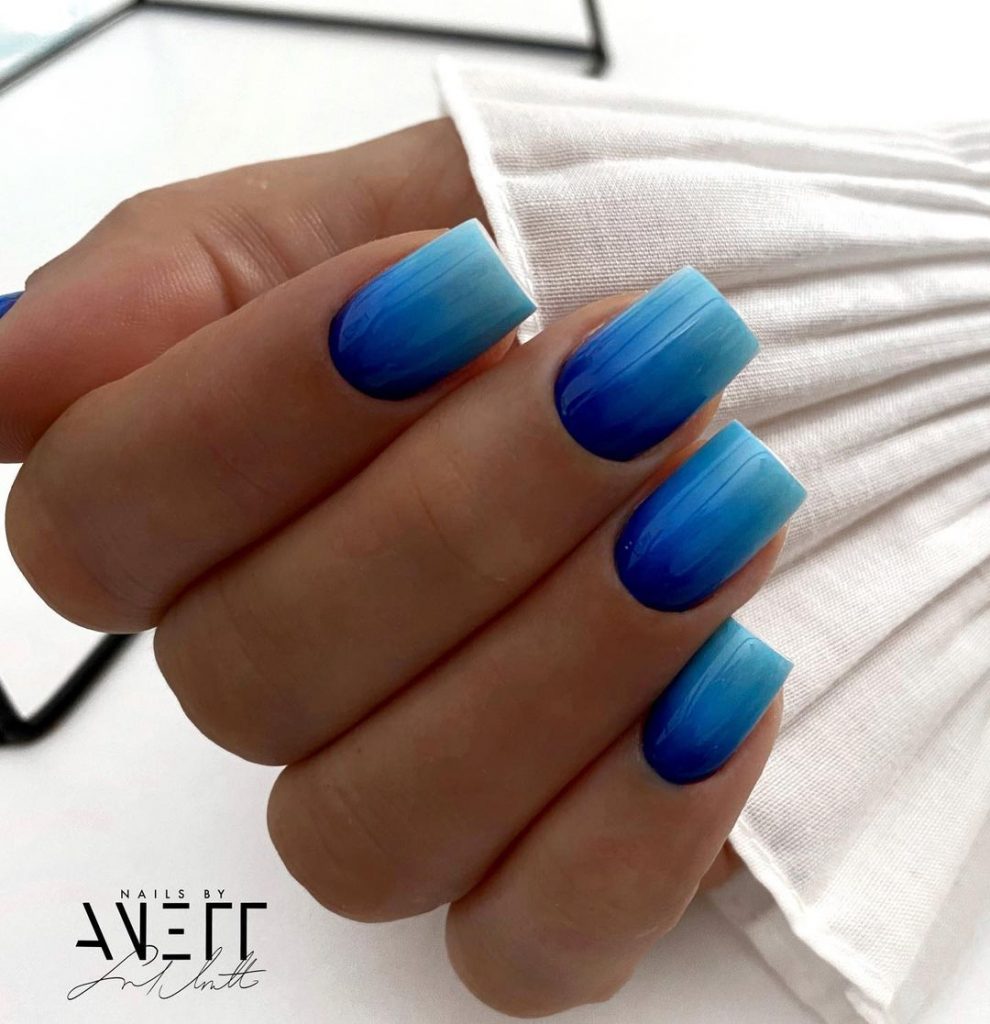
Consumables for making these nails:
- Base layer: CND Stickey base layer
- Light blue paint: China Glaze in “Bahamian Escape”
- Dark blue polish: OPI in “Yoga-ta Get this Blue!”
- Top coat: Seche Vite Dry Fast Topcoat
My suggestion: for a flawless gradient it is important to blend while both shades are still wet on the sponge.
DIY instructions: Start with a solid base coat to protect your natural nails. Apply the light blue polish as a base coat. Then take a sponge and apply a layer of dark blue, blotting and blending from the tip to create that wave-like gradient. Always finish with a top coat for a long-lasting, chip-free summer experience.
Neon Sparkle Fusion
When fun and funk come together, you get the ‘Neon Sparkle Fusion’. The playful dance of neon green with deep ocean blue, laced with glitter, speaks to the cool and the beautiful. It’s a unique acrylic design that’s both bright and sophisticated and will make your nails the centerpiece of any summer party.
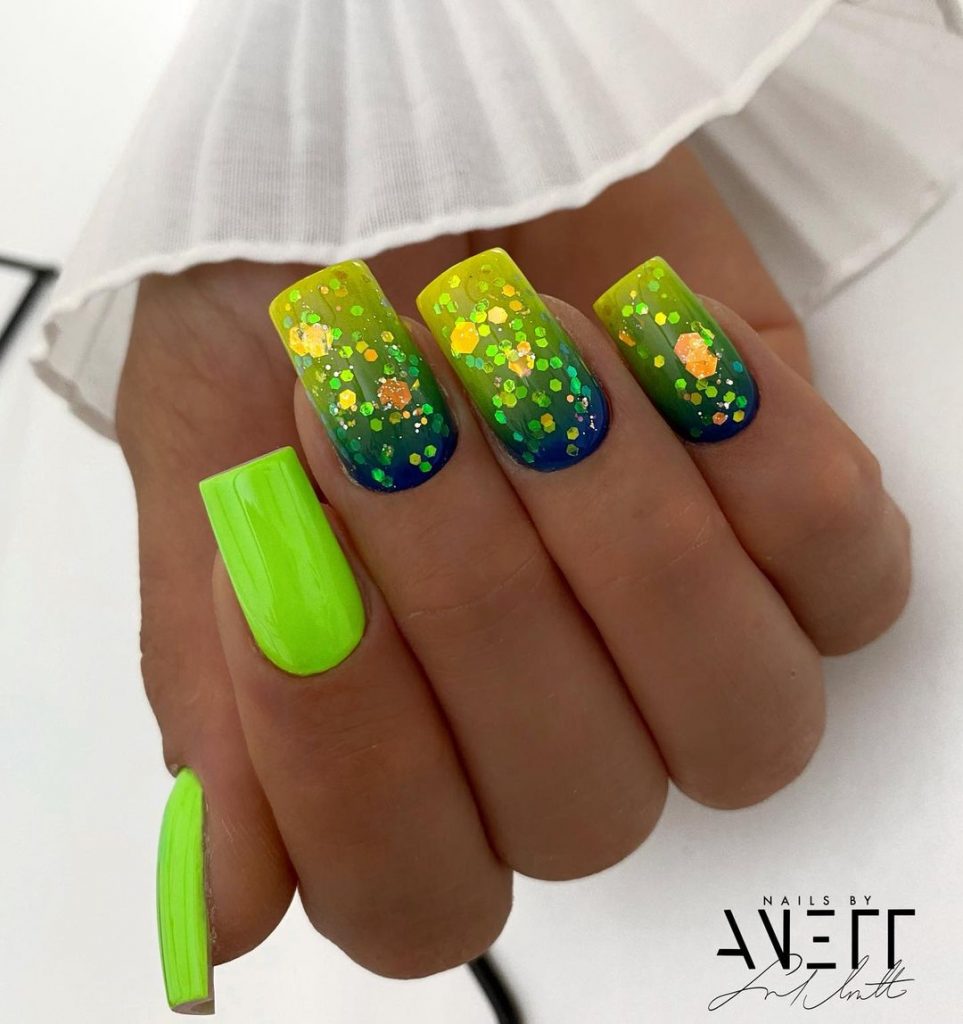
Consumables for making these nails:
- Base layer: Butter London Nail Foundation
- Neon green paint: ORLY in “Glowstick”
- Blue polish: Essie in “Butler Please”
- Glitter top coat: China Glaze in “Fairy Dust”
- Gemstones (optional)
My advice: place gemstones while the glitter topcoat is still sticky so they stay strong over the summer holidays.
DIY instructions: After applying your base coat, go for a two-tone look with neon green transitioning to blue at the base. Sprinkle some glitter on top before the top layer, or add one or two gemstones for that extra bling. Finish it off with a top coat and you’re ready to shine!
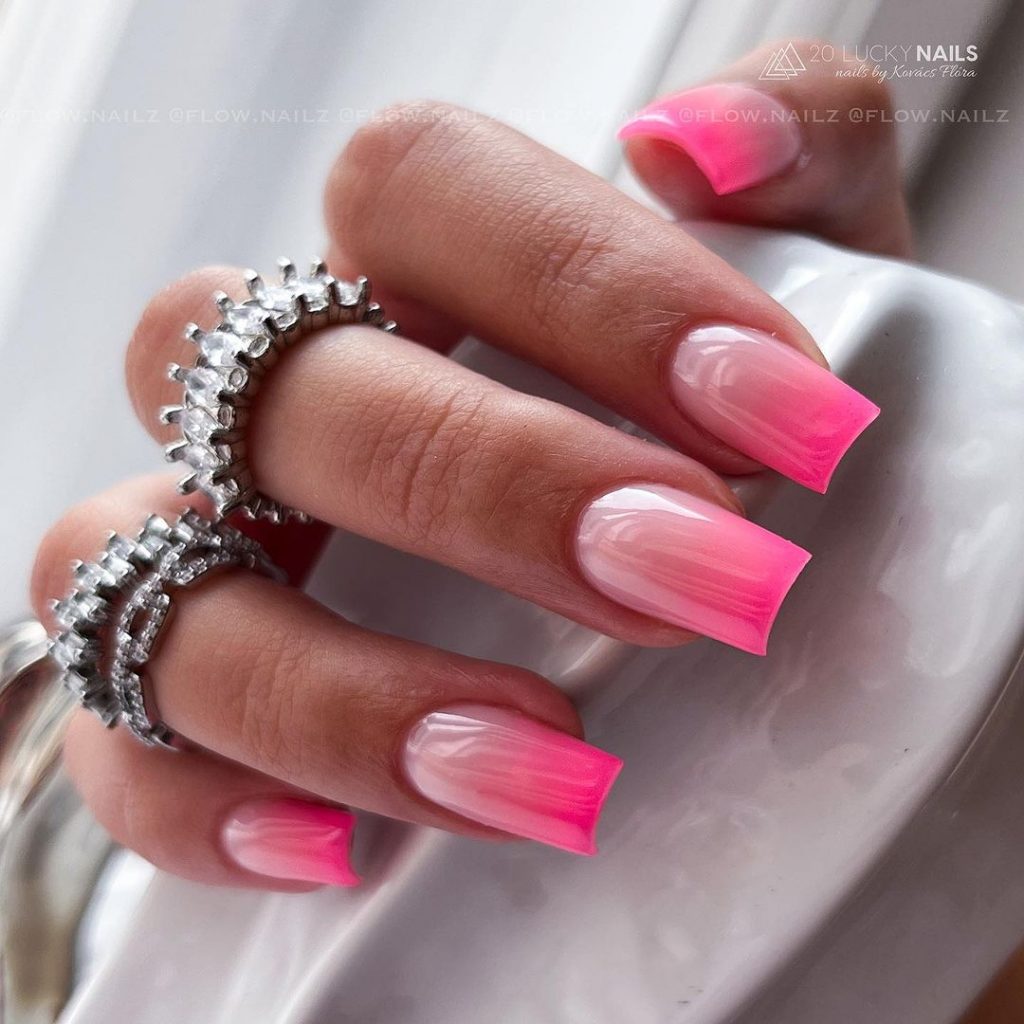
Flirty pink flush
The ‘Flirty Pink Flush’ is a classic choice for those who love a cute, feminine touch. This simple, beautiful pink with a seamless shellac finish captures the softness of summer sunsets. It’s a timeless choice that goes effortlessly from day to night, from beach to birthday party.
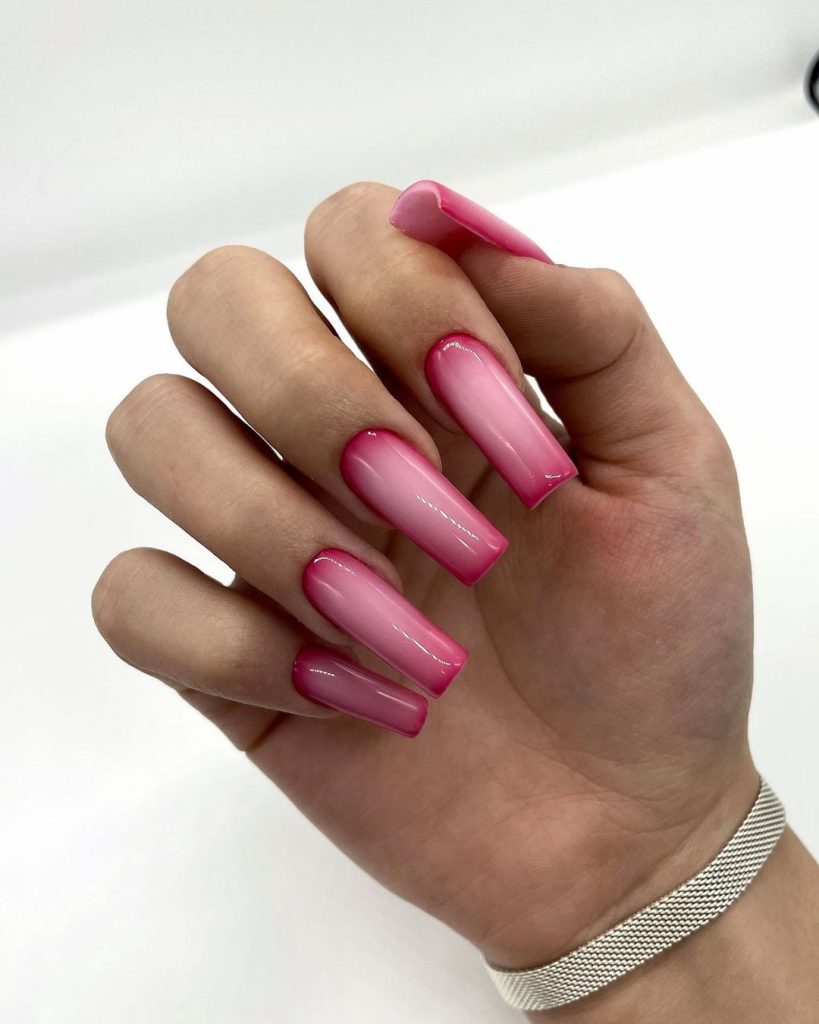
Consumables for making these nails:
- Base layer: Gelish Foundation Base Gel
- Pink Shellac Lacquer: CND Shellac in “Pink Bikini”
- Topcoat: Gelish Top It Off Gellak
Insider Tip: Apply thin coats of shellac to avoid creasing under the lamp, ensuring a smooth, even coat that’s just right for a delicate pink shade like this.
DIY instructions: Start with a base coat to protect and prepare your nails. Apply the pink shellac lacquer in thin, even strokes. Shellac requires a UV or LED lamp to harden, so once you’ve applied your nail polish, let it harden under the lamp for the time specified by the product. Finish with a top coat for a glassy finish and you have a look that is both simple and chic.
Save pin

Namie O, a talented writer at Willtiptop, conveys her passion for fashion and beauty in every word she writes. With a keen eye for detail and a deep insight into the latest trends, Namie’s articles and insights captivate readers and provide them with valuable knowledge and inspiration. Through her engaging and informative writing style, Namie aims to empower individuals to explore their style, experiment with beauty techniques, and embrace their unique sense of self.